
The raspberry-pi is a marvellous little device! So versatile, so powerful (relative to its price and size), it allows an infinite number of applications.
As a music fan and guitar playing aficionado, the first ideas that came to my mind were mostly about combining my interests in computers and music. In my personal pipeline of potential projects: a guitar tuner, a whole plethora of guitar effects (all-in-one effect pedal), a loop station, training a Recurrent Neural Network to correct my mistakes as I play, etc…
Unfortunately, the raspberry-pi does not come with a built in microphone or any audio input. And setting one up is not straight forward: to my surprise, there is a high number of posts online asking about how to setup audio input on the pi, and very little satisfying answers.
My investigation led me to using a USB sound card instead of trying to use the GPIO pins (way too manual and raw). Yes it sounds a little bit less maker-y, but hey, I want to get stuff done. As far as I know, there is only one GPIO sound card availbale on the market, but there is close to no documentation and support for it.
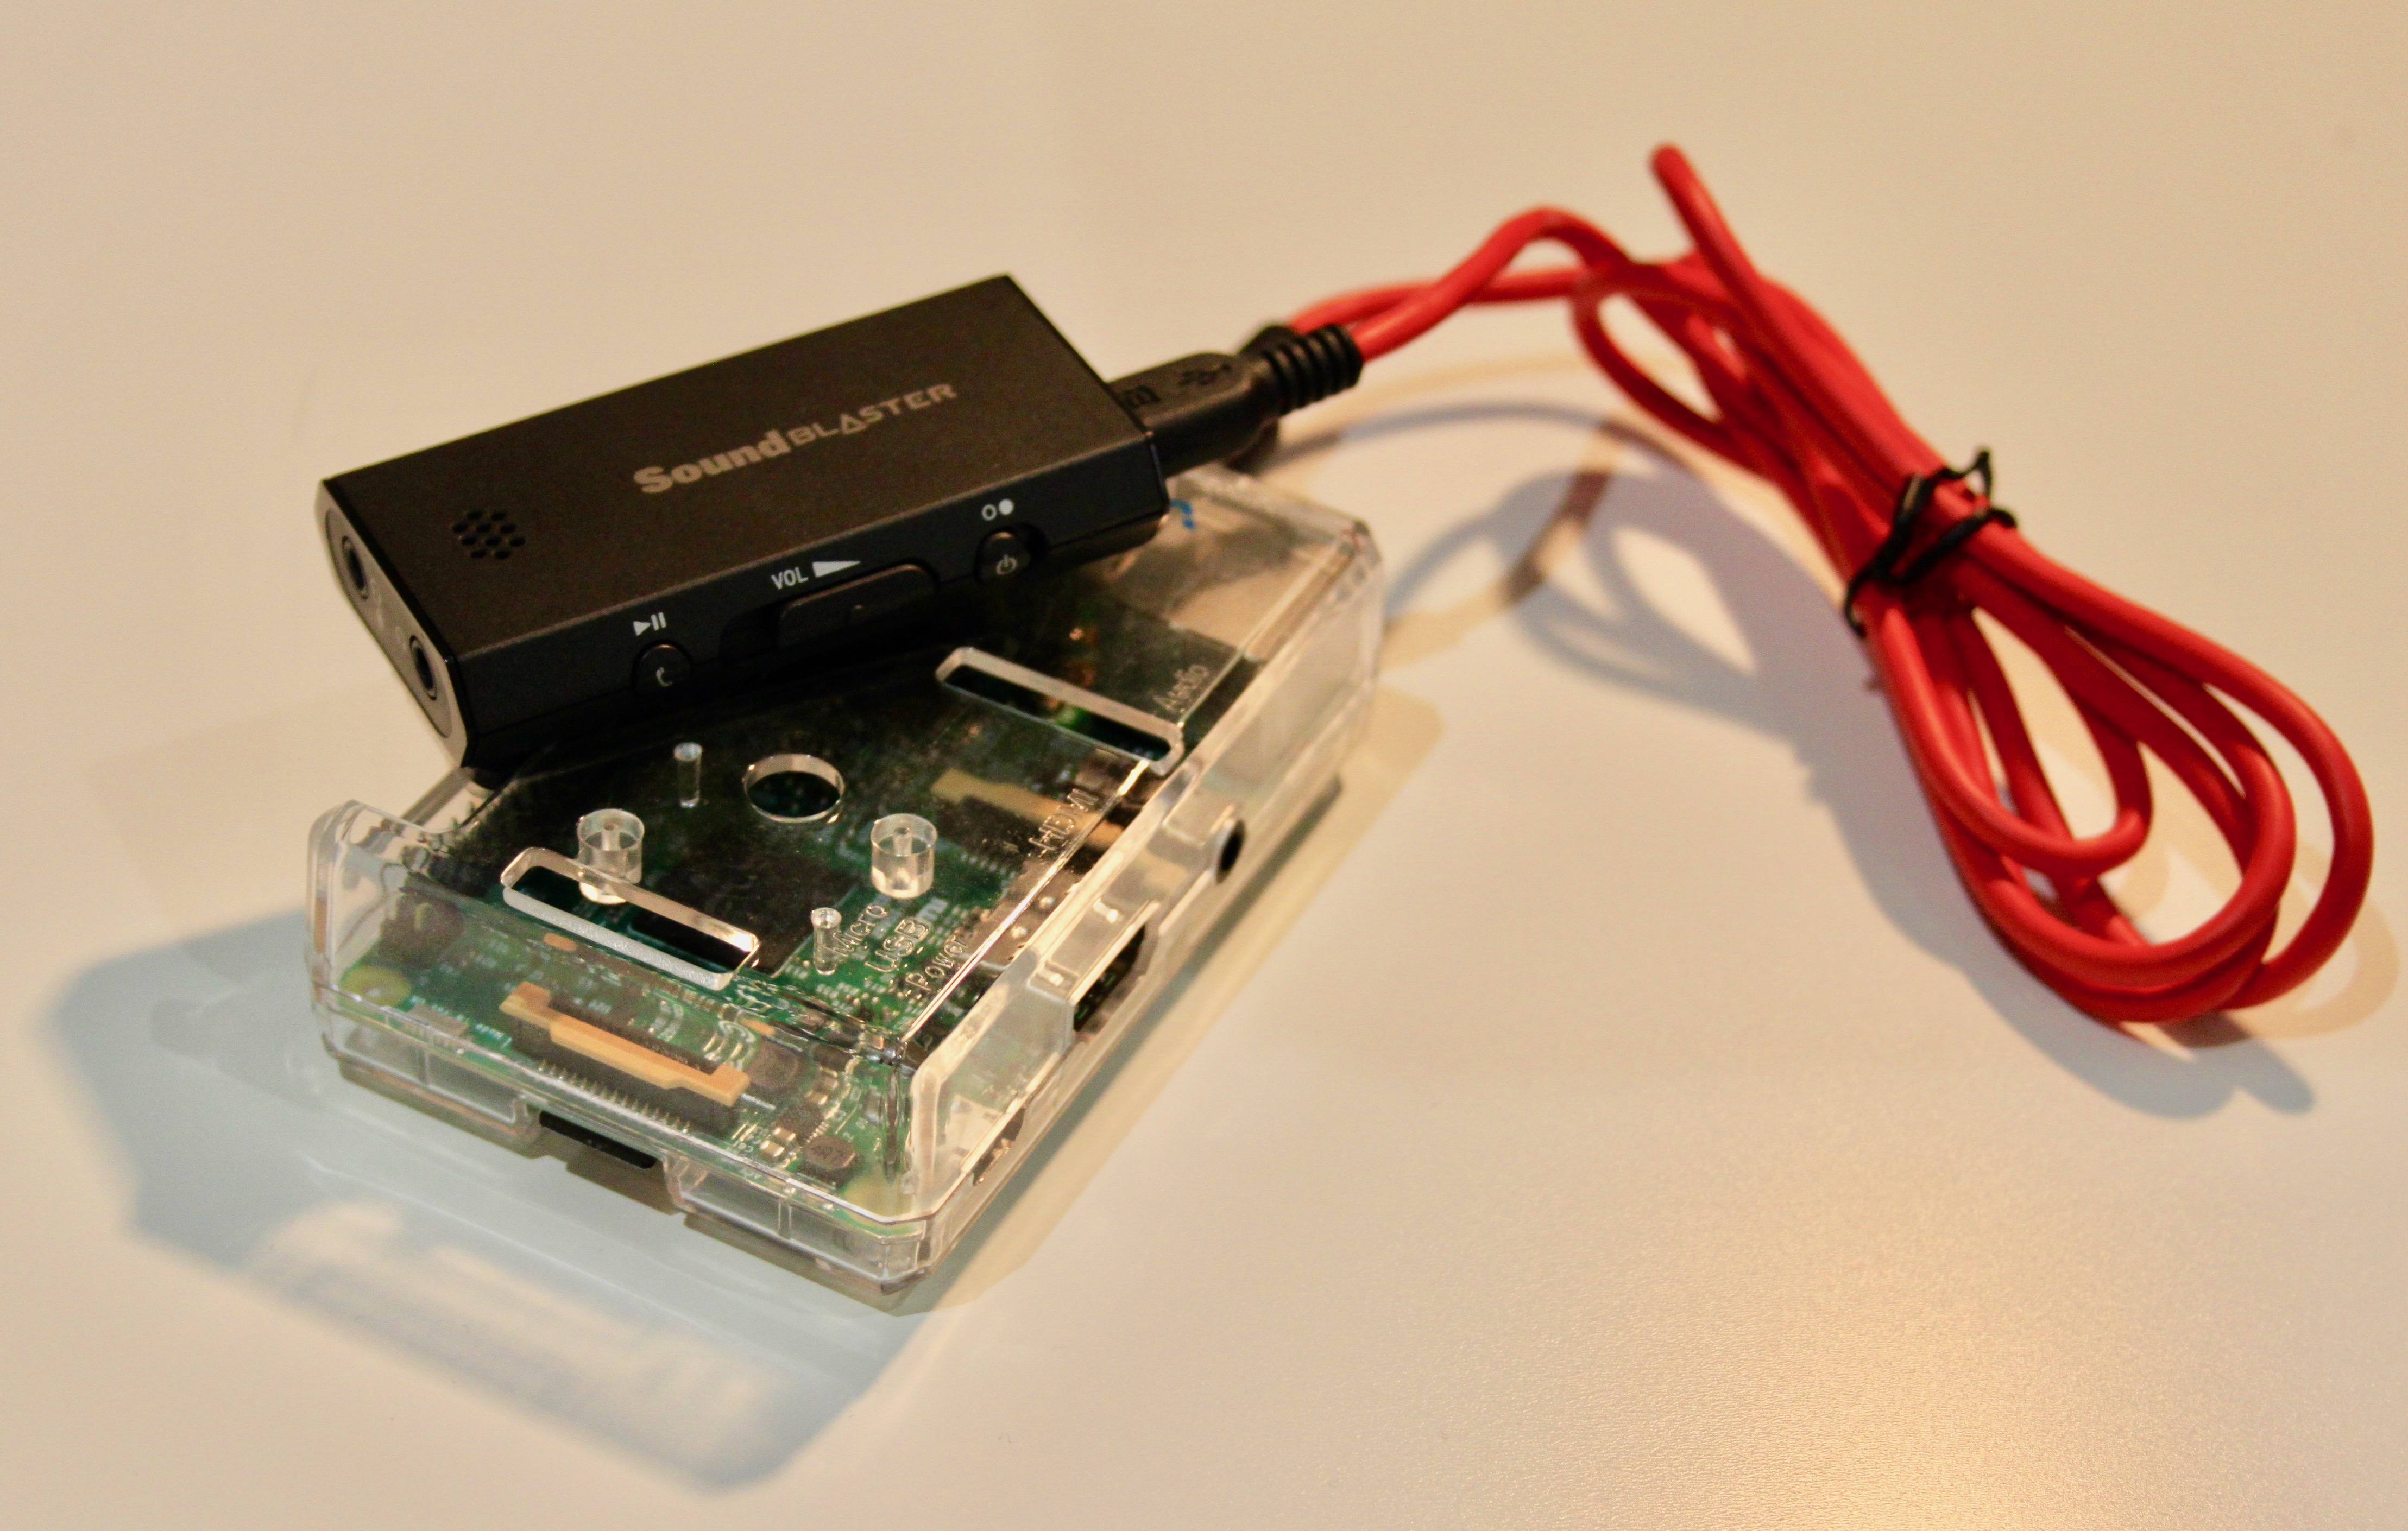
I settled for a Sound Blaster E1 (30 GBP as I write this article): it was within my price range and I trusted Sound Blaster would take care of writing proper drivers compatible with most OS including linux (I run Debian Jessie). I am sure many other and possibly cheaper options are available out there. However the trouble with USB cards is that you have to trust the maker provide sane drivers, ideally plug-and-play for any linux machines. This is the case with the Sound Blaster E1. Also: it looks pretty cool.
Enough talk, let’s get that bad boy working.
Start by plugging the USB sound card into any of your raspberry-pi’s USB ports, and ssh onto its command line. If your card has sane drivers, you can make sure the sound card is available as sound output device by typing:
$ aplay -l
which should return at least 2 cards’ descriptions (one for the built in audio output and one for your sound card)
**** List of PLAYBACK Hardware Devices ****
card 0: ALSA [bcm2835 ALSA], device 0: bcm2835 ALSA [bcm2835 ALSA]
  Subdevices: 8/8
  Subdevice #0: subdevice #0
  Subdevice #1: subdevice #1
  Subdevice #2: subdevice #2
  Subdevice #3: subdevice #3
  Subdevice #4: subdevice #4
  Subdevice #5: subdevice #5
  Subdevice #6: subdevice #6
  Subdevice #7: subdevice #7
card 0: ALSA [bcm2835 ALSA], device 1: bcm2835 ALSA [bcm2835 IEC958/HDMI]
  Subdevices: 1/1
  Subdevice #0: subdevice #0
card 1: E1 [Sound Blaster E1], device 0: USB Audio [USB Audio]
  Subdevices: 1/1
  Subdevice #0: subdevice #0
And similarily check the audio input devices:
$ arecord -l
Check the order in which your cards have been loaded:
$ cat /proc/asound/modules
In my case and I think in the case of most USB sound cards, we get the following, meaning the USB card comes second:
0 snd_bcm2835
1 snd_usb_audio
The first thing to do is to make everything a lot easier by switching this default order, so that your USB sound card always gets defined as the default card 0.
You do this by editing or creating the following file:
$ sudo nano /etc/modprobe.d/alsa-base.conf
and giving it the following content
# This sets the index value of the cards but doesn't reorder.
options snd_usb_audio index=0
options snd_bcm2835 index=1

# Does the reordering.
options snd slots=snd_usb_audio,snd_bcm2835
Then we need to make sure the audio configuration shipped with the USB card is used: this is done by editing the alsa configuration file /usr/share/alsa/alsa.conf by only uncommenting one line (remove the # sign):
load card-specific configuration files (on request)
Then simply reboot your raspberry-pi. You can now check again aplay -l and arecord -l for the order in which devices come. A quick way to test the default setup is to run the speaker-test commandin the shell. You should hear some white noise coming out of the speaker/headphone plugged to your USB sound card.
You can record a few seconds of audio using the arecord test.wav command, and CTRL+C to stop recording. Listen to your test with aplay test.wav.
You should now be setup to use your Raspberry Pi with a USB soundcard and get cracking on some cool project involving audio input and output. Personally, my first project is making a guitar tuner using different pitch detection technics. To get started withthis project, I published a post in which I explain one way to get started with Digital Signal Processing on the Raspberry Pi 3.